
Sub-Total: $0.00

October 13, 2026
The Rise of Home Golf Simulators: Turning Basements, Garages, and Spare Rooms Into Golf Spaces
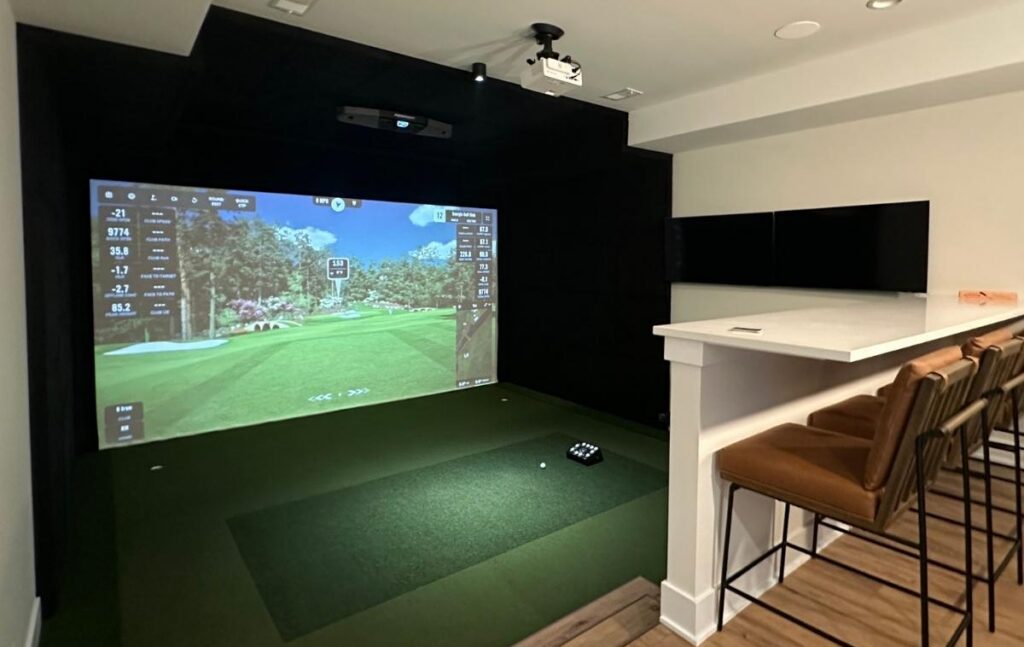
The Rise of Home Golf Simulators: Turning Basements, Garages, and Spare Rooms Into Golf Spaces
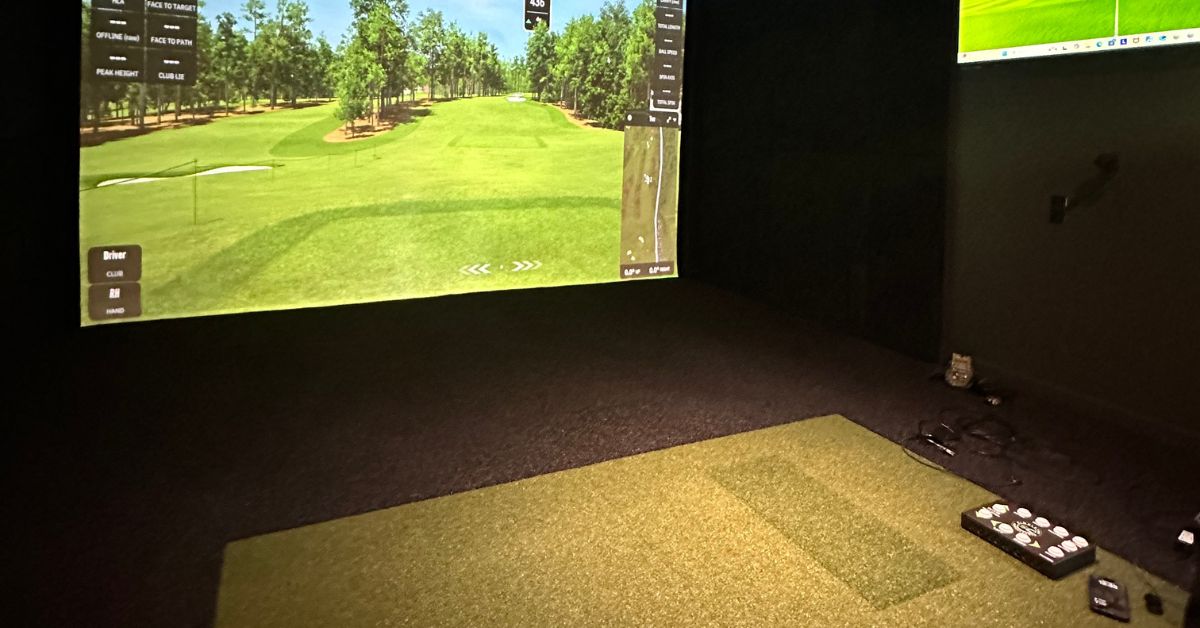
A home golf simulator used to be something you mainly saw in professional training facilities or high-end entertainment spaces. Today, more homeowners are exploring the idea of bringing the golf experience home. Better technology, more equipment options, and flexible room designs have made it possible to build a simulator in everything from a finished basement to a detached pole barn.
The biggest question isn’t whether your home can accommodate a golf simulator. It’s figuring out which space makes the most sense, what the installation will involve, and how to build a setup you’ll enjoy using for years.
Why Are More Homeowners Installing Golf Simulators?
A home golf simulator offers more than a place to hit golf balls. It creates a convenient way to practice, play virtual courses, and entertain friends without leaving home.
For golfers in colder climates, a simulator can make winter practice possible when outdoor courses are closed. For busy homeowners, it eliminates travel time and makes it easier to fit in a quick practice session. And for families, the right setup can double as an entertainment space for golf, virtual competitions, and time with friends.
A simulator can also become part of a larger home improvement project. Instead of leaving an unfinished basement or underused garage as storage space, homeowners can turn it into a dedicated recreation area.
Step 1: Choose the Right Space
The room you plan to use will influence almost every other decision, including which launch monitor you can install, how large the screen can be, and how much construction may be needed.
Basements
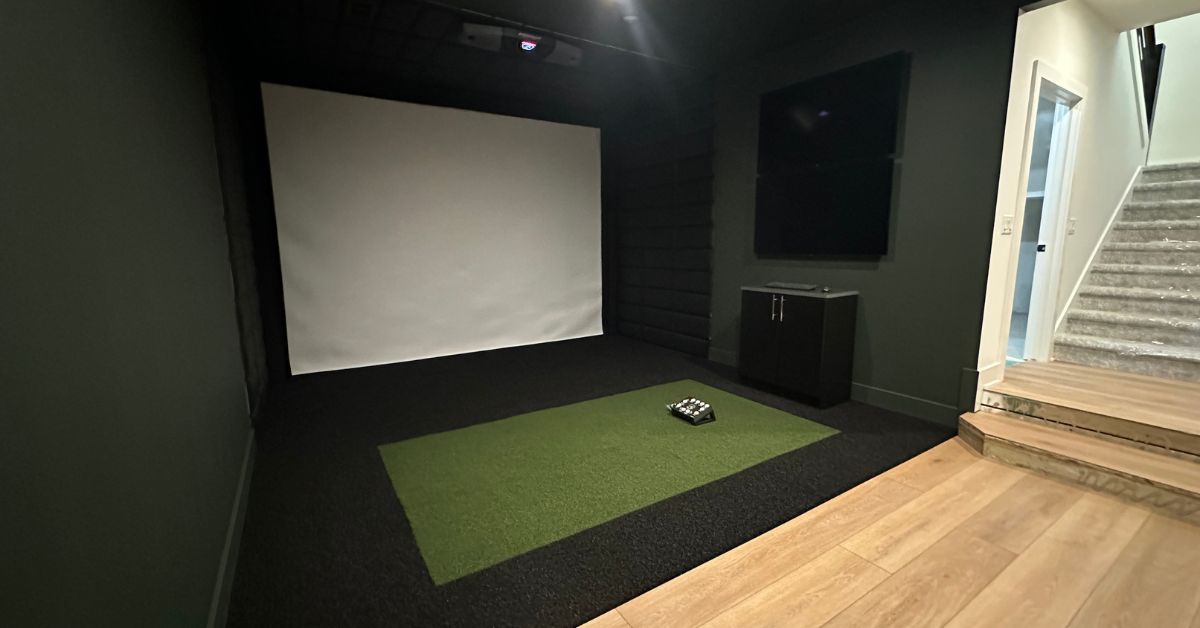
Basements are a popular choice because they offer privacy and can be separated from the rest of the home. A finished basement may already have flooring, lighting, and climate control, which can reduce the work required.
The main challenge is often ceiling height, but it won’t set us back. Beams, ductwork, pipes, and light fixtures can reduce the available swing clearance. Measure the lowest obstruction, not just the height from the floor to the ceiling.
Garages
A garage can provide a useful footprint for a simulator, particularly if you have enough depth and width to create a dedicated hitting area. Some homeowners convert an entire garage, while others design a setup that can be used alongside other activities.
Think about insulation, heating, lighting, electrical access, and whether vehicles or storage will need to share the space.
Pole Barns and Detached Buildings
Pole barns and other detached buildings can offer the open floor area needed for a larger simulator room. They can be especially appealing for homeowners who want a separate recreation space away from the main house.
However, available square footage is only part of the equation. Insulation, moisture control, heating and cooling, electrical service, and finished interior walls may all need attention before equipment can be installed.
Spare Rooms and Dedicated Additions
A spare room may work if the dimensions and ceiling height are sufficient. A dedicated room or new addition offers the greatest opportunity to plan the screen, hitting position, lighting, projector, and wiring together from the start.
You need enough room to swing comfortably and safely.
Step 2: Measure Before Choosing Equipment
Before purchasing a launch monitor or screen, measure the room’s ceiling height, width, and depth.
Ceiling height is especially important because golfers need enough clearance for a full swing with a driver. Width affects where the hitting area can sit and whether both right- and left-handed golfers can play comfortably. Depth determines how far the screen, ball, golfer, and equipment can be positioned from one another.
The launch monitor also matters. Some systems sit beside the hitting area, while others mount overhead. Certain radar-based systems require more distance between the monitor and the screen than camera-based systems do.
We can help determine which equipment options are realistic before you spend money on a setup that doesn’t fit.
Step 3: Decide How You’ll Use the Simulator
Think about what you’ll do in the room most often.
Practice and improvement: Prioritize reliable ball and club data, useful practice features, and software that supports your training goals.
Playing virtual courses: Consider course selection, graphics, ease of use, multiplayer options, and the software’s ongoing costs.
Family entertainment: Look for a system that different skill levels can enjoy and that is straightforward for guests to operate.
A combination of golf and entertainment: Plan for seating, screens, lighting, storage, and the possibility of retracting or protecting the golf components when they’re not in use.
Your primary use should guide the equipment selection. The most expensive launch monitor isn’t automatically the best option for every homeowner.
Step 4: Understand the Total Installation Cost
The launch monitor is only one part of a home golf simulator. Your overall budget may include:
- Launch monitor and simulation software
- Impact screen and enclosure
- Hitting mat and surrounding turf
- Projector and computer, if required
- Mounting hardware and electrical work
- Framing, drywall, painting, and other room improvements
- Lighting, sound, heating, and storage
- Professional installation and system setup
Costs vary considerably depending on the equipment, room condition, screen size, and amount of construction involved. An existing finished basement may require a very different investment from an unfinished pole barn that needs insulation and interior finishing.
Ask for a complete project estimate rather than comparing launch monitor prices alone. Also confirm whether software subscriptions, installation materials, and any required computer are included.
Step 5: Plan for Everyday Use
A simulator should work for your household, not just look impressive in photos.
Consider how people will enter and move around the room, where golf clubs will be stored, and how you will protect nearby walls and furniture. If multiple golfers will use the simulator, think about handedness and whether anyone will need to reposition equipment between turns.
Lighting deserves attention as well. Bright lights aimed at the impact screen can wash out the projected image, while poorly positioned fixtures can interfere with swings. Projector placement should be planned to reduce shadows and protect the equipment from stray shots.
If the room serves more than one purpose, decide how the simulator will be stored or reconfigured before choosing a permanent layout.
Start With the Room You Have
A successful home golf simulator starts with the space, the budget, and how you plan to use it. Once those factors are clear, it becomes much easier to choose equipment and design a room that works.
Simulator Consultants designs and installs custom golf simulator spaces, from existing basements and garages to pole barns and dedicated rooms in new construction. Whether you’re planning a complete renovation or converting an existing space, we can help you evaluate the room and build a setup around your needs.
Ready to turn an underused space into a golf simulator room? Contact Simulator Consultants to discuss your project.
Frequently Asked Questions
What dimensions should I measure before installing a golf simulator?
Measure the room’s height, width, and depth, including any beams, ductwork, or other obstructions. You’ll also need enough clearance to swing comfortably and space for the screen and equipment.
What happens if my room has a low ceiling or unusual layout?
Low ceilings, support posts, and sloped ceilings don’t necessarily rule out a simulator. Adjusting the hitting position, screen placement, or equipment can help make challenging spaces work.
Should I plan the room around the simulator or choose the equipment first?
Both should be considered together. The launch monitor, screen size, projector placement, and swing clearance all affect the room’s layout, so planning them together can help avoid costly changes.
What modifications might an existing space need?
Depending on the room, you may need better lighting, additional electrical outlets, insulation, climate control, or adjustments to the ceiling or walls. An evaluation of the space helps identify what’s necessary before installation.
When should a golf simulator be included in new construction plans?
The earlier, the better. Planning during the design or framing stage allows you to account for ceiling height, electrical needs, lighting, and equipment placement before drywall is installed.
Posted in Custom Installation
Recent Posts
Let's Get Started

Meet Our team
From your first call to the final install, you'll be working directly with the team building your space and sourcing your equipment.
Request Custom Installation
“*” indicates a required field.